
Whether you’re caring for your own wound or helping a loved one heal, there are plenty of ways wound care in the home differs from an office, wound clinic, or even hospital setting.
Here are 6 easy steps to follow if you’re wondering how to change a wound dressing at home.
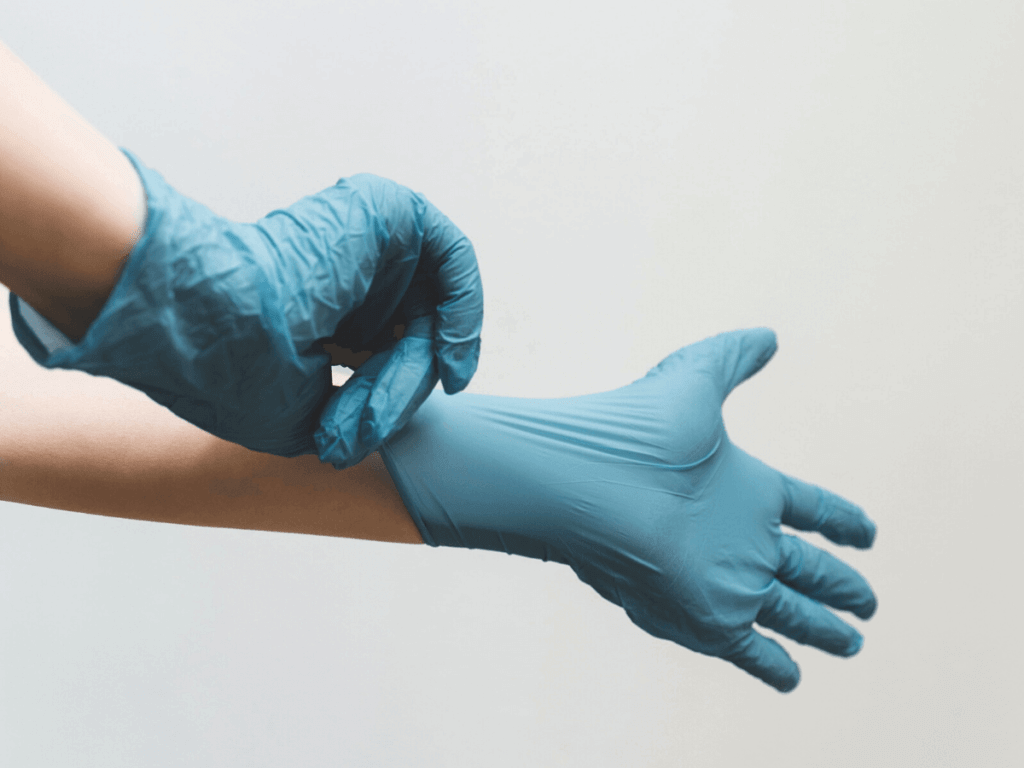
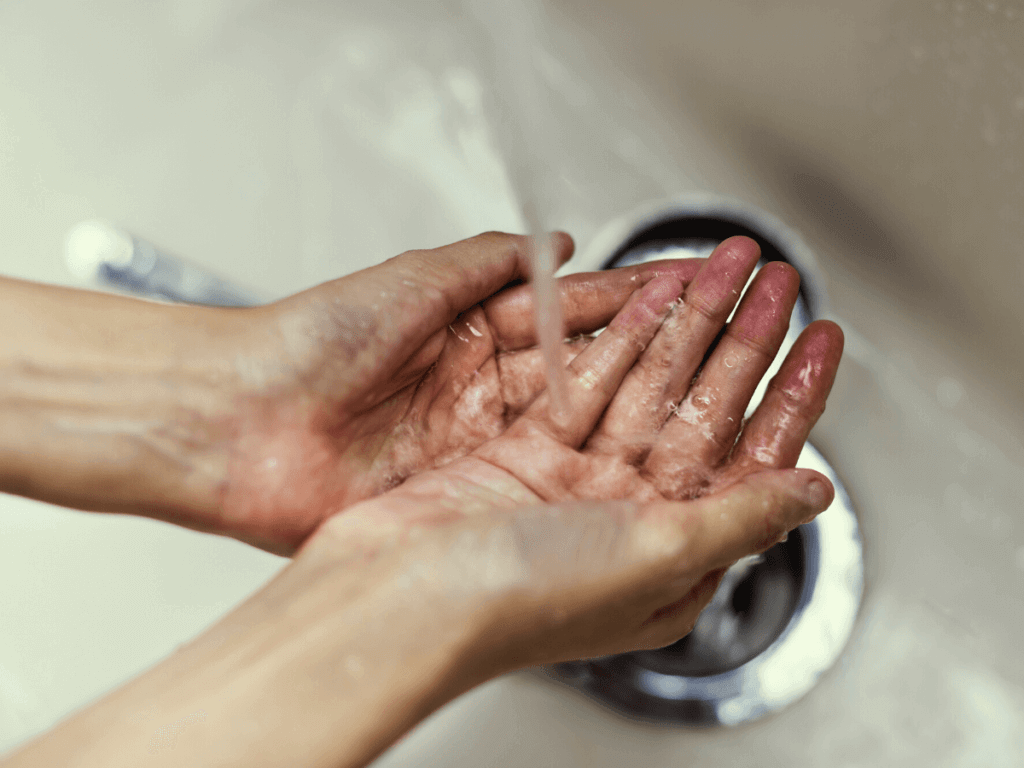
Step 1: Clean your hands & your equipment
Wash your hands and wear gloves (if you’re working on another person’s wound) before any contact with your materials.
Get all your supplies in order before you start, and designate one pair of scissors for wound care-and wound care only. If possible, use a pair with rounded edges to prevent any accidental injuries.
Clean these scissors and any other equipment with an alcohol swab before and after every use to ensure they’re not transferring bacteria onto your clean supplies.
Step 2: Put down a clean surface to work on
Place a clean towel, disposable underpad, or washable absorbent pad under the surface you’ll be working on.
This will help to create a clean work space and prevent any cleansing fluids and wound drainage from dripping onto the floor, chair, or bed.

Step 3: Know your disposal guidelines
Grab a sealable, waterproof bag and place it near your workspace to use for the old dressing, used gauze, and any other trash items. In the US, individual states have different rules for disposing of medical waste, so be sure to ask your doctor or check your state’s website to see exactly what to do in your area.
Step 4: Remove the old dressing
Remove the dressing in place and dispose of it into your trash bag. Be sure to put on a new pair of gloves before starting to clean the wound or apply the new dressing. This ensures you don’t bring any contaminants over from the old dressing and is an important part of reducing the risk of wound infection.
Step 5: Cleanse the wound and apply a new clean dressing
Follow your doctor’s instructions for cleaning the wound and applying a new dressing. This is a good time to take a good look at the wound and note any possible signs of infection, such as redness, warmth, swelling, odor, or unusual discharge.
If you have any questions or concerns about how the wound is healing, you can even take a photo of the wound before applying the new bandage. This way, you can reference the visual and accurately describe any changes, or even share it with your physician, without re-opening the wound dressing and undoing your hard work!
Step 6: Clean up
When you’re finished applying your new wound dressing, there’s only two things left to do…
Wash your hands again, then place all supplies into a clean bag or container to ensure they stay dry, clean, and organized for the next time you need them.
Always store your supplies in a clean area away from heat, light, and any curious pets or children.
Taking on wound care at home can be daunting at first, but doesn’t have to be difficult or expensive!
BODYARMOR Medical Supply Co. Was Founded By Physicians To Make Professional Wound Care Dressings Accessible and Affordable.
Click Here To Explore Our Wound Care Dressings!


